Search This Blog

Wednesday, October 17, 2012

Green Plums For Umeboshi Nontraditional

Some time last year, probably during the winter, a storm broke the limbs on the plum tree in the school yard. This spring I noticed that the fallen limbs were loaded with green plums.

The plums had actually made the break worse with their weight.


 I couldn't imagine they would ever ripen so I filled a few bags and hit the internet in search of what to do with green plums.

  I love umeboshi plums and vinegar. I knew that umeboshi plums were unripe plums but I also found out that they are actually a type of apricot. Some makers of umeboshi plum and vinegar do adapt the recipes using green plums. I wanted a ume type vinegar for cooking and I love the paste when I get sick, I use it like medicine, and I imagine the health benefits of the plums are close to the same no matter how they are processed as long as they're not processed to death. The traditional methods for making umeboshi the are pretty extensive, and involve a lot of waiting,  I'm not quite that patient. So  I also found some really old recipes for "fake olives" made from green plums using salt brine for pickling, some middle eastern recipes called for a vinegar, water and salt brine and traditional umeboshi plums are salted and pressed under weights until they are pickled in their own juice.
So I tried them all, I had enough plums enough jars and enough salt .

All the recipes called for soaking over night in cold water after a good wash


 After the soaking, I salted some of them and let them make their own juice, the traditional way. This accumulation of juice takes a lot of salt. You want it on all of the plums, sprinkle it generously between layers as you put them in the jar.

this is "lightly salted" compared to some traditional ones I saw


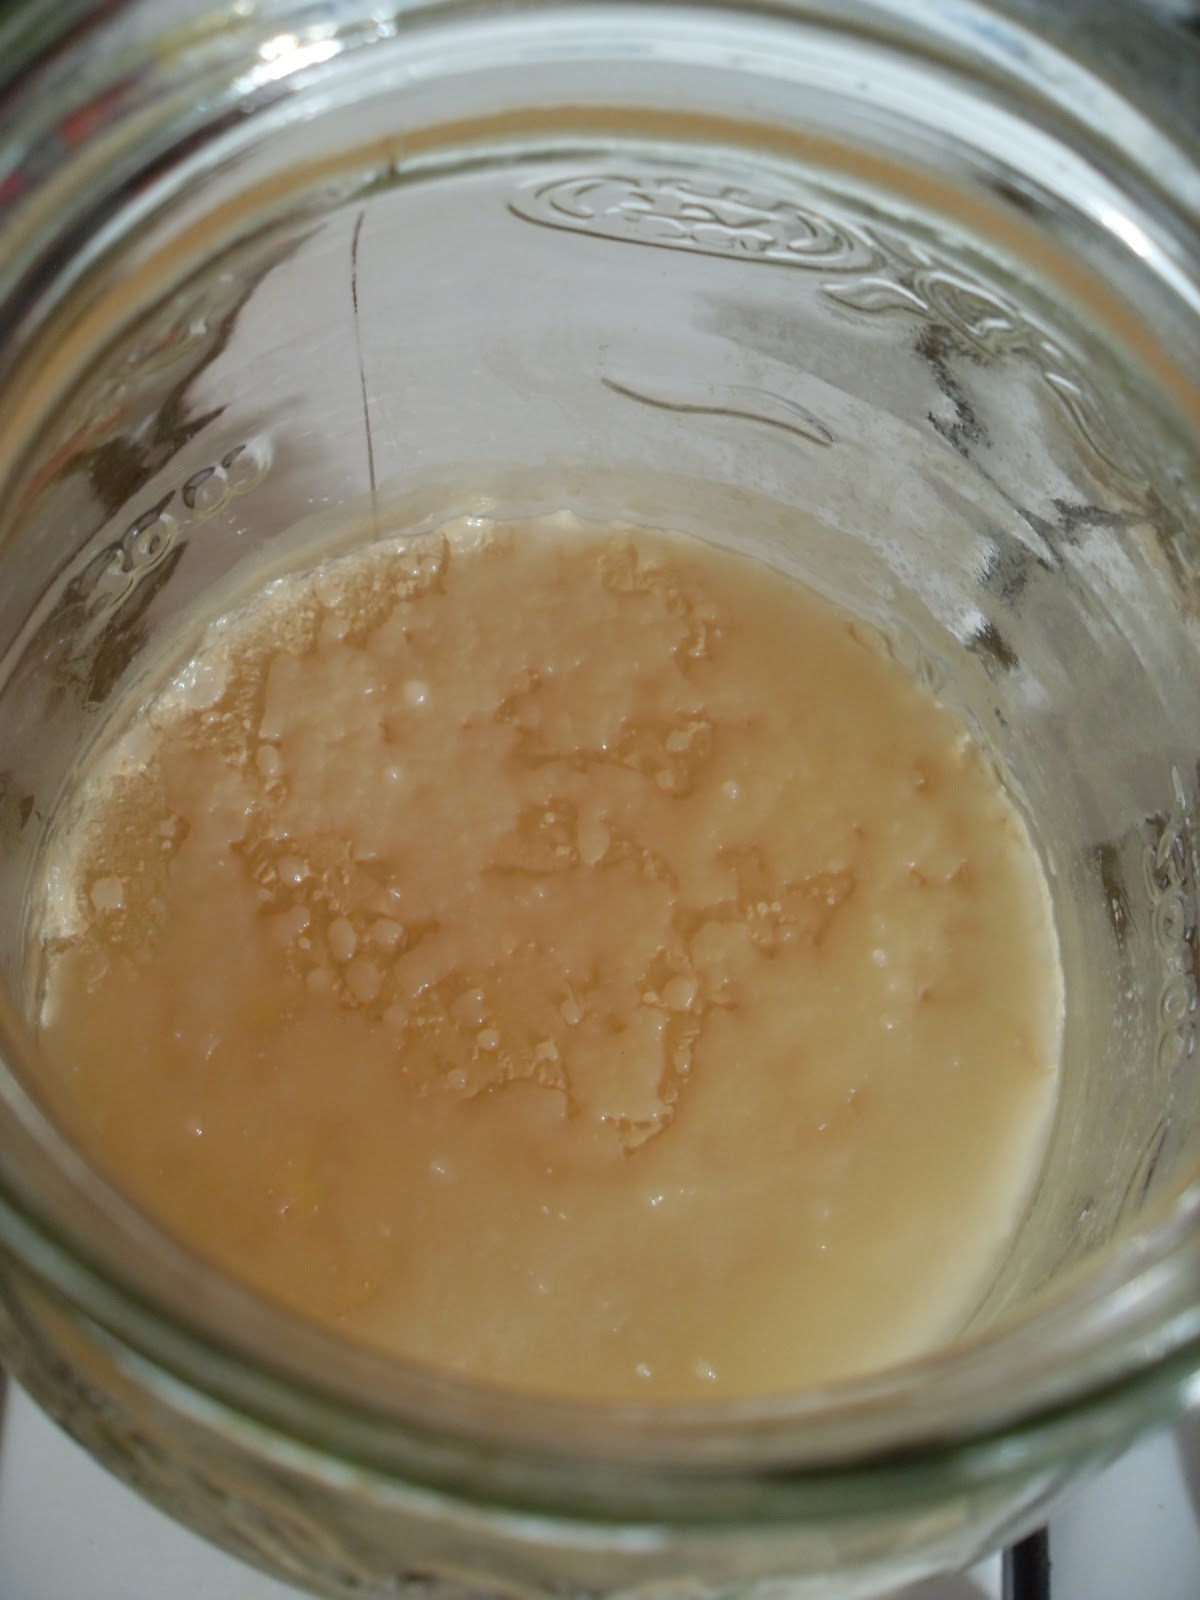
24 hours in the salt


48 hours in salt with weight 


72 hours in salt with weight 


 72 hours...


It also takes a long time and a lot of weight to press the juice out. I used smaller glass jars filled with water as weights and pressed them down a few times a day with all of my weight.

A small glass jar full of water which will fit inside the jar of plums can be used for weight. Cover with a cloth


 That was the traditional way, the next step called for draining the "liquor" and dehydrating the plums...traditionally this is done in a bamboo basket in the sun. I didn't do this. I'm sorry to say I lost this batch to mold eventually because I left it in the liquid too long. Please don't ask, I've moved on, and I've learned from my mistakes.If you want a good tutorial for traditional umeboshi plums it's here


My second experiment was with a vinegar salt brine, like my favorite pickles


and a salt water brine  


I started these two batches following the recipes for pickled plums but without any added spices or flavorings, I really wanted traditional ume vinegar flavor. Both recipes called for reheating the liquid and pouring over the plums while still scalding hot, for 3 days in a row. By the third day I wanted to add spices so I added red pepper flakes, garlic slices,mustard seed, celery seeds and black pepper. After a few weeks of fermenting in cool room temperatures, the recipes called for pouring off the liquid and putting the pickles into cold storage (the fridge). I put them in the fridge and forgot them for a few months and just recently dragged them out, and combined both jars...During the entire process from start to finish there has been no mold or yeast growth (too salty) So......here's what I have now.

The plums are dehydrated and giving off their "liquor"  which smells and tastes exactly like umeboshi vinegar (plus the spices I added)


 This is almost a half gallon.


Lots of spices added Yummmm!


 The plums are not at all soft like umeboshi plums, and they're not like olives, they are crispy like a good cucumber or green tomato pickle. And they're delicious!


Next year when the plums are green I'll just press the juice the traditional way and drain it and refrigerate for a few months. No spices for a more traditional vinegar, and maybe make a small batch of the spicy ones.

So You Want To Make Raw Vinegar From Scratch?

Plum Vinegar


This is the "quick and dirty" version, forgive any stupid spelling or grammar errors.
If you have apples, blackberries, plums (or any fruit) to use, grab them and smash them anyway you can, with berries and plums I just used my hands, apples get shredded in the food processor. I remove the pits from the plums, apples you can seed or leave the seeds in. Put them in a sterile, large glass jar or crock (no plastic or metal), with a wide mouth and belly. Hopefully your fruits are sweet and juicy if not you can add some water and sugar (about 1/4 cup of sugar to 1 quart of water). 

 Apples shredded processed in food processor


Put a cloth over the jar, cotton or several layers of cheese cloth is good, you want air to get in and to keep the fruit flies and other things out. Secure the cloth with a rubber band or elastic.

I don't recommend using chunks but some say it works fine

Now you let it sit in a warm dark place for about a week stirring down the mash at least once everyday.
                                          
This is Blackberry and mixed fruit vinegars, I keep them in their own cabinet                                     


***If you're adding water use de- or un-chlorinated water. If the water has chlorine, heat it and let it sit over night so that the chlorine dissipates.

***White table sugar is best and it will all be gone in the end, but you can use other sweeteners too, honey, molasses, raw sugar or succanet etc. I don't think stevia would work, it's not for flavor but to turn the juice to alcohol. You can fill the jar almost to the top with the fruit mash if you have enough fruit but leave a few inches of head space. In a few days the mixture will start to bubble and the fruit will look gross and puffed, floating on top.

This is plum pulp after 4 days

                                                
The fruit will float on top until it is finished with the first ferment


Give it a sniff and/or a taste (if you're brave), every day while stirring so you know whats going on in the fermentation process, and keep stirring down the mash every day to prevent any mold from taking over and to introduce oxygen. 

Stirring introduces oxygen and releases CO2    This helps prevent mold from colonizing


After a few more days you should start to smell alcohol, that's what you want to happen. Eventually, depending on your surrounding temperature (warmer is better), the mix will stop bubbling and the fruit will sink to the bottom.

 Plum fruit settling to the bottom


When this happens it's time to strain out the fruit. Don't worry if the thick sediment gets through just strain out the solids and squeeze the juice out, I use a muslin bag to strain, you can use several layers of cheese cloth with a strainer or a good sieve.

Strain out the solids
                                      
                                               
Put the juice back into the jar


Put the juice back in the jar, cover again with the cloth secured with a rubber band, and put it back in a warm dark place. You should still stir and sniff  it everyday. If everything goes right in a few days to a week, you'll start to see a film on the top, it might look like a silky white powdery layer, kind of wrinkly and bubbly, it might look like an oil slick floating on the surface, or a few white jelly fish looking globs floating near the surface. As long as you don't  see any fuzzy black specs or fuzzy white specs, or smell mold  you're fine. If you see them fish them out and/or strain again and make sure you stir it often until you see one of the films described earlier.

When the film starts to form:
Stop stirring everyday and let it grow.
Always check for molds, black, green or white and fuzzy. Make sure it either smells like fruit, alcohol (wine) or vinegar. A slight yeasty smell is okay too.

1) when you see the silky type film first (it may also be bubbly), it's kam yeast and it's going to turn into the "mother" which makes the vinegar. Browning or dark discoloration, in the bubbles in lighter colored liquid  is also normal as long as there is no fur.  You might smell yeast also instead of alcohol. It's going to be an ugly lumpy, bubbly looking process and you might think it's ruined, just let it go and it will start to congeal, and thicken into a funky looking, under cooked, english muffin that covers the entire surface of the liquid.
                                          
Yeast on the surface before the mother forms


Yeast and sugars turning to cellulose  Symbiotic Colony of Bacteria and Yeast  aka Scoby, mother, vinegar plant...                                                    


Fully grown mother protecting the liquid below and doing her magic, transforming sugar and yeast to acetic acid                                         


2) The transformation is not as ugly when you get an "oil slick" looking film *lol* The film just thickens and looks sort of like solidified fat or oil sitting on top of liquid and covering the surface.

This mother of apple cider vinegar was disturbed before it covered the surface but you can see it looks like oil or wax  floating on top   
                                    
                                     
Mother of Plum vinegar just beginning to form 4 days after straining out the pulp                                          
                                      

Mother of a Beer vinegar experiment, silky smooth and white


Blackberry vinegar mother, they take on the color of the liquid
                       

Sitting on top conformed to the shape of the opening and nice and thick (blackberry) 
                                     

3) From floating globs, the floaters will stay near the surface and begin expanding until they cover the surface All three types are fine, they just begin in different stages of the ferment. 
                                 
Floating mother blob, usually happens when the mother is very young and gets disturbed (stirring or bumping) she will try to stay as close to the surface as she can to make a new mother                                   


Now the mother will be eating the rest of the yeast and sugar in the alcohol and changing them to acid. You can move the jar around to check on it, but try not to bump it if you can help it. Don't poke at the mother, you want it to keep floating and it sinks if you jostle it too much. It's not a disaster if it sinks, another one will grow back right away but my theory is, while it's growing you might be losing some of the strength of the acidity.

The mother has fallen and a new one has taken it's place


So leave the mother sitting and try to take a sniff daily to see what's happening, eventually you'll start to smell vinegar just faintly, then one day you'll take a whiff and feel your nose hairs burn and know you've got vinegar!
At this point I get a clean drinking straw, put my finger over the top of the straw,and very gently slide it between the mother and the jar down into the liquid to trap a bit in the straw for tasting.
Do the happy dance if it makes you pucker!
  When you taste it you'll probably disturb the mother, it might sink or part of it might go under the liquid, it will grow back and replenish it's cover though in a few days. If the mother grows back quickly it means it is still working hard so let it keep sitting, keep sniffing etc. Usually I know it's done when it smells and tastes good and sour and the mother sinks straight to the bottom from the slightest disturbance. That's when I strain it again, bottle it (in glass) and cap it. I put mine into big wine bottles. A mother will always grow back as long as it's still in the open container, and sometimes it will grow another one after straining and bottling...not a problem, it won't be as thick, just a film or jelly like floaters, it's good to have it in the vinegar. The vinegar can be stored in a cool dark place and you can let it age,or you can start using it when it's finished.. Some makers age them for years, I don't know the benefits of aging yet because I haven't had enough time, patience or experience. I'll let you know because I have a lot of batches finished and finishing and I know I can't use them all at once, so I'll find out.
Good luck and I'll answer any questions I can.


PRESS ON!!